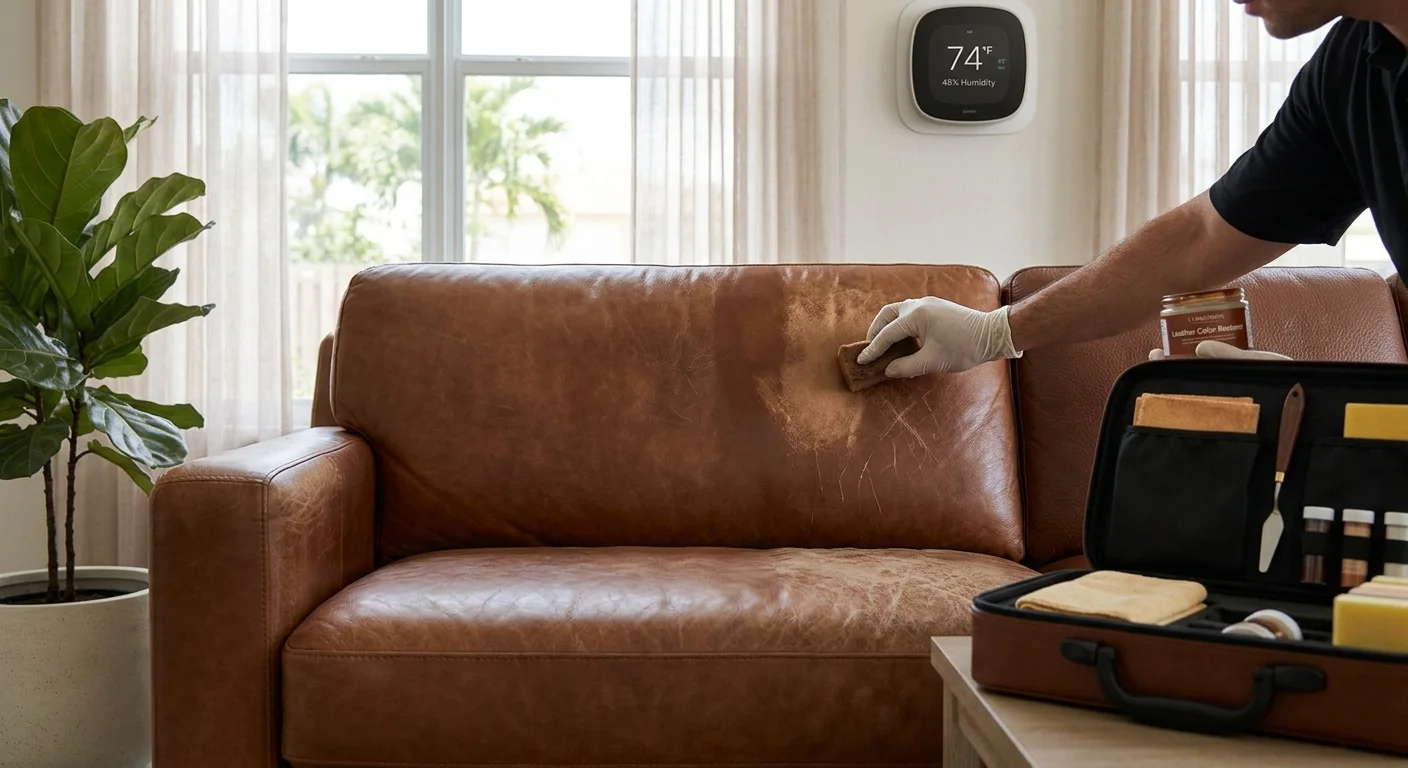
Here is a comprehensive guide to leather furniture repair, addressing the most common types of wear and tear, and helping you determine when to attempt a DIY fix versus calling a professional.
Part 1: Assessing the Damage
Before purchasing any products, you must identify your leather type and the severity of the problem.
1. Identify Your Leather Type
Aniline/Semi-Aniline: These leathers are dyed but have minimal protective coatings. They are soft, highly absorbent, and susceptible to fading and stains.
Pigmented (Protected): This leather has a durable, opaque topcoat that resists scratches and liquid. Most modern furniture is pigmented.
Nubuck/Suede: These are buffed leathers with a nap. They are delicate and require specialized repair products. Do not use standard pigment-based fillers on these types.
2. Assess Severity
Minor Damage: Surface scratches, fading, light scuffing, surface-level "spiderweb" cracking. Suitable for DIY.
Major Damage: Deep cracks that show the lighter inner fibers (suede side), rips, tears, holes, peeling topcoat, or rotted internal foam. Requires professional restoration.
Part 2: Step-by-Step Leather Furniture Repair Guide (DIY)
For standard minor damage on pigmented or semi-aniline leather, follow this progression.
Phase 1: Preparation is Key
A repair will only be as good as the surface underneath. Body oils, dust, silicone polishes, and waxes will prevent repair compounds and dyes from sticking.
StepActionTools Needed1. CleanSpray a specialized leather cleaner onto a microfiber cloth and gently wipe the entire piece to remove surface dirt.Leather Cleaner, Microfiber Cloth2. DegreaseApply a leather degreaser (often included in comprehensive repair kits) to the damaged area. This is critical for areas in contact with skin, like headrests and armrests. Let it dry completely.Leather Degreaser, Lint-free clothPhase 2: Removing Scratches and Scuffs
The method depends on the depth.
For Light, Surface Scratches:
Often, these are just scuffs in the top finish. You can often blend them without fillers.
Heat Method: Use a hairdryer on a low, warm setting (not hot) to gently heat the surrounding leather. While warm, use your thumb to "massaging" the oils from the adjacent area back into the scratch.
Conditioning Method: Apply a high-quality leather conditioner to the area and buff gently. The moisture may cause the leather to swell and minimize the scratch’s visibility.
For Deeper, White-Faced Scratches:
The surface has been broken.
Fill: Apply a flexible leather filler compound into the scratch using a spatula or small card. Apply in thin layers, allowing it to dry between coats, until the filler is slightly higher than the surface.
Sand: Once fully cured (check product instructions), gently sand the area flush using fine-grit sandpaper (e.g., 600–800 grit) from your repair kit.
Phase 3: Repairing Cracks
Cracks are signs of a dehydrated, weakened topcoat. If not filled, they will become tears.
Stabilize (Optional but recommended): For widespread light cracking, brush on a layer of leather binder over the entire cracked area to strengthen the weak fibers before filling.
Fill: Apply flexible leather filler into the cracks with a spatula. Do not overfill. It is easier to add more filler than to sand away excess.
Sand: Sand flush once dry.
Phase 4: Restoring Fading (Color Restoration)
Fading is usually caused by UV exposure. To hide fillers and sand marks, and to restore vibrancy, you must recolor.
Product TypeUse CaseLeather Recoloring BalmBest for overall fading on semi-aniline leathers where some natural grain variation is still desired.Leather Colorant / Dye KitRequired for pigmented leathers, covering patches, or deep color changes. It provides an opaque, new-looking finish.Application Process (Standard Colorant):
Prime: Apply a leather primer or prep agent to improve the colorant’s adhesion.
Color: Match your color. Kits usually allow you to mix standard colors. Apply the colorant in thin, even coats using a sponge, buildable in 2–3 layers. Thin layers are flexible; one thick layer will crack. Allow each coat to dry.
Seal: This is non-negotiable. Apply a leather topcoat (finish/finish sealer) to protect the color from rubbing off and to set the desired sheen (matte, satin, or gloss).
Part 3: Knowing When to Call a Professional
Attempting a complex repair without the right skills or products can lead to irreversible damage, often making a professional repair more expensive to reverse before it can be fixed correctly.
Consult a Professional When:
You Have Nubuck or Suede: These leathers are highly specialized and extremely sensitive to moisture and pigment.
The Damage is Structural: Deep tears, holes, missing chunks, or a broken frame are beyond the scope of a standard leather furniture repair kit.
You Need a Perfect Finish: A professional restoration offers seamless color matching, natural-looking texture application (grain copying), and a factory-like durability that DIY kits rarely replicate.
The Furniture is High-Value: If the piece is antique, custom-made, or very expensive, the risk of a botched DIY job outweighs the cost of professional expertise.